Professional Installation Process of Auto Light Tint Film
1. Preparation
– Clean the Auto Lights: Thoroughly clean the surface of the auto lights to remove any dirt, dust, or grease using a mild detergent and water solution.
– Dry the Surface: Ensure the auto lights are completely dry before proceeding to the next step to avoid any water spots or bubbles.
2. Gathering Tools and Materials
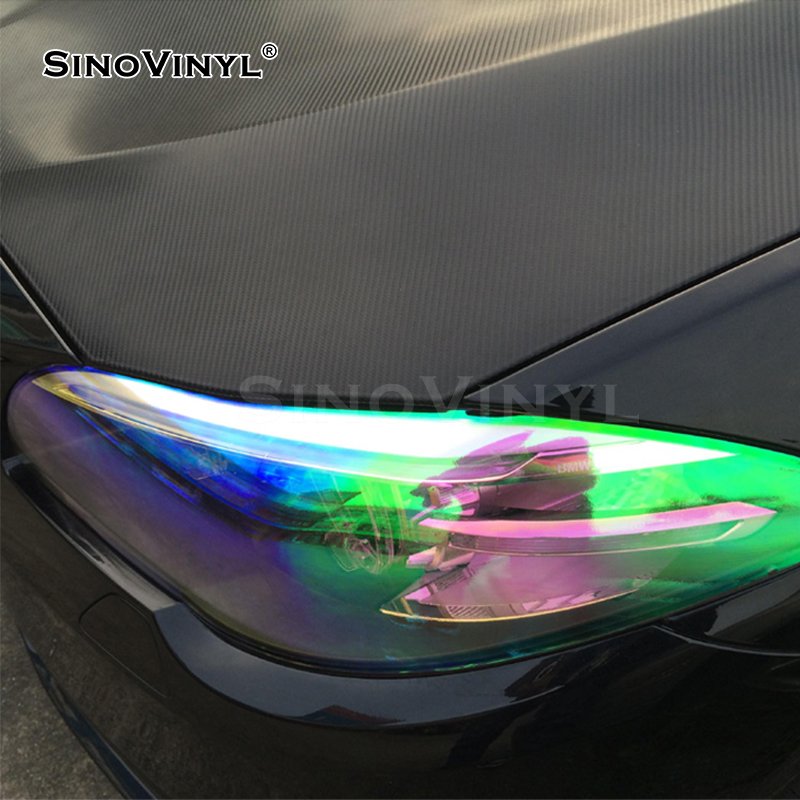
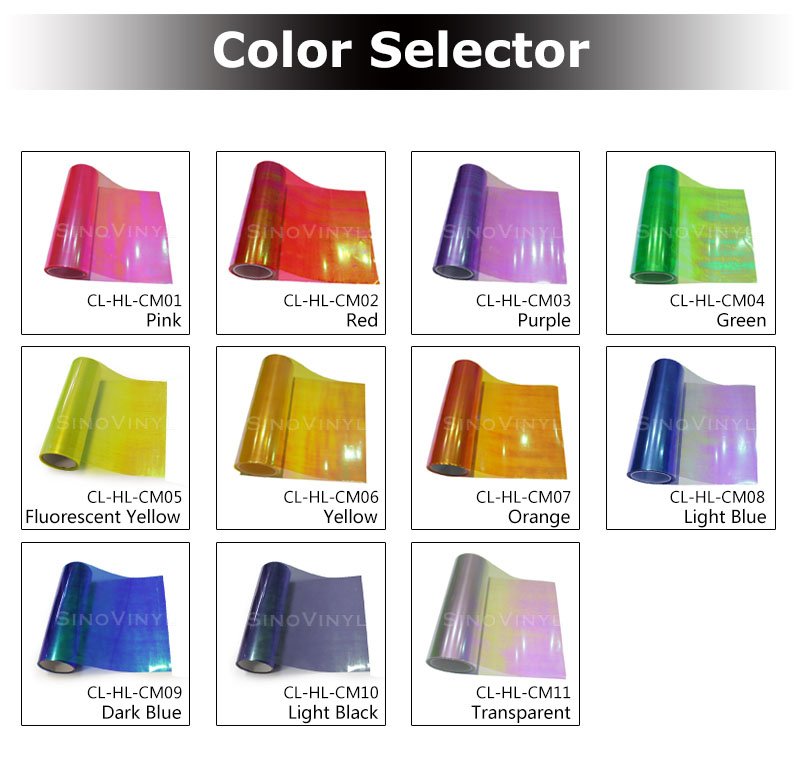
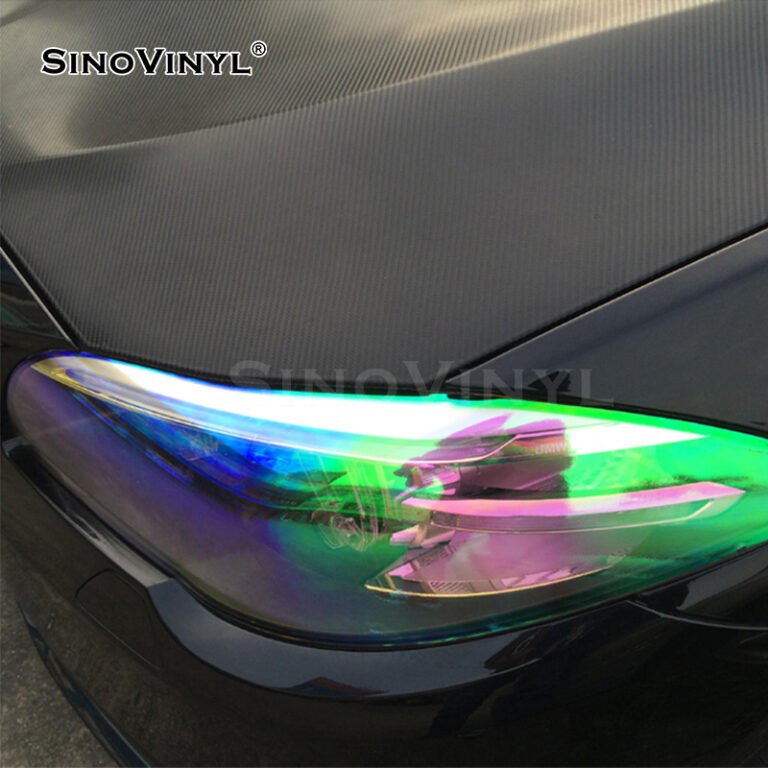
– Auto Light Tint Film: Choose a high-quality tint film suitable for auto lights.
– Spray Bottle with Soapy Water: To help in the application process.
– Squeegee: For smoothing out the tint film and removing air bubbles.
– Sharp Utility Knife: For trimming excess film.
– Microfiber Cloth: To clean and wipe away excess water and solution.
3. Measuring and Cutting the Film
– Measure the Auto Light: Carefully measure the dimensions of the auto light to cut the tint film accordingly.
– Cutting the Film: Use a sharp utility knife to cut the tint film slightly larger than the measured dimensions to allow for adjustments during application.
4. Application of Tint Film
– Wet the Surface: Spray a generous amount of soapy water onto the auto light surface.
– Position the Film: Carefully place the cut tint film onto the wet surface, allowing it to float on the soapy water.
– Adjustment: Slide the film into the desired position, ensuring it covers the entire surface of the auto light.
5. Smoothing and Removing Air Bubbles
– Squeegee Technique: Starting from the center, use a squeegee to smooth out the film, pushing any air bubbles towards the edges.
– Work Carefully: Work slowly and carefully to avoid creases or wrinkles in the film.
6. Trimming Excess Film
– Trimming: Once the film is applied and smoothed out, use a sharp utility knife to trim off the excess film around the edges of the auto light.
– Be Precise: Make sure to trim the film neatly for a clean finish.
7. Final Inspection
– Check for Imperfections: Inspect the tint film for any imperfections, bubbles, or areas that may need adjustment.
– Make Adjustments: If necessary, carefully lift the film and reapply adjustments before it fully adheres to the surface.
8. Curing and Drying
– Allow Drying Time: Allow the tint film to dry and adhere to the auto light surface for the recommended curing time as per the manufacturer’s instructions.
– Avoid Contact: During this time, avoid touching or disturbing the tint film to ensure a proper bond.
9. Maintenance and Care
– Avoid Cleaning: Avoid cleaning the tinted auto lights for at least 48 hours to allow the film to fully cure.
– Gentle Cleaning: After the curing period, use a mild detergent and water solution with a soft cloth to clean the tinted auto lights gently.
Following this professional installation process will help ensure a successful and long-lasting application of auto light tint film. Always refer to the manufacturer’s instructions for specific guidelines and precautions related to the tint film you are using.
