Get Your Car Naked: A Beginner’s Guide to Vinyl Wrap Removal

Get Your Car Naked: A Beginner’s Guide to Vinyl Wrap Removal

Sino Group is a professional car vinyl wrap film manufacturer and wholesale supplier, kindly get factory price of: car wrap vinyl, paint protection film, carbon fiber vinyl, auto light tint film, vehicle vinyl wrapping materials.

Share This Post

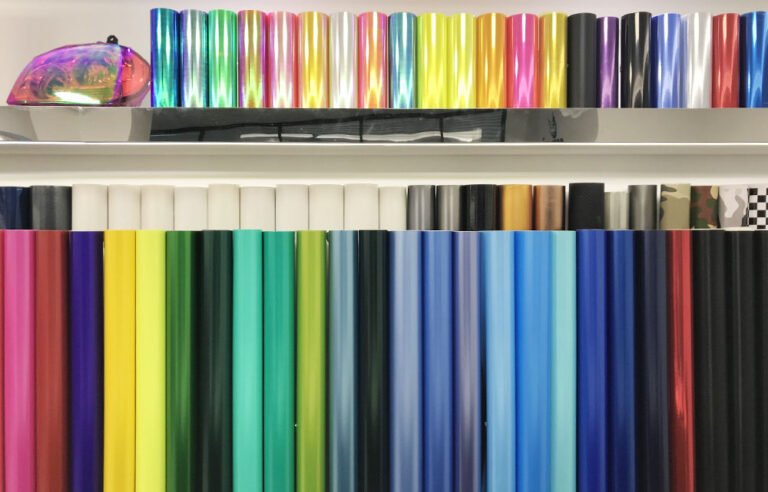
Tools and Materials About Removing Vinyl Wrap From Car

When it comes to removing vinyl wrap from a car, having the right tools and materials is crucial for a successful and efficient process. Here’s a list of essential tools and materials you’ll need:

Tools

1. Heat Gun or Hair Dryer

A heat gun or hair dryer is used to soften the adhesive beneath the vinyl wrap, making it easier to peel off.

2. Plastic Razor Blades

Plastic razor blades are non-abrasive and won’t scratch the car’s paint. They’re handy for gently lifting and removing the vinyl.

3. Squeegee

A squeegee helps smooth out the vinyl and remove air bubbles during the installation process. It’s also useful for pressing down on the vinyl as you peel it off.

4. Adhesive Remover

A quality adhesive remover is essential for dissolving any remaining adhesive residue on the car’s surface after removing the vinyl wrap.

5. Microfiber Towels or Rags

Soft, lint-free microfiber towels or rags are used for cleaning and wiping down the car’s surface.

6. Gloves

Wear gloves to protect your hands from the heat and any chemicals used during the process.

7. Safety Glasses

Safety glasses or goggles protect your eyes from any debris or chemicals that may be released during removal.

8. Respirator or Dust Mask

A respirator or dust mask is crucial when working with adhesive removers or other chemicals to protect your respiratory system.

Materials

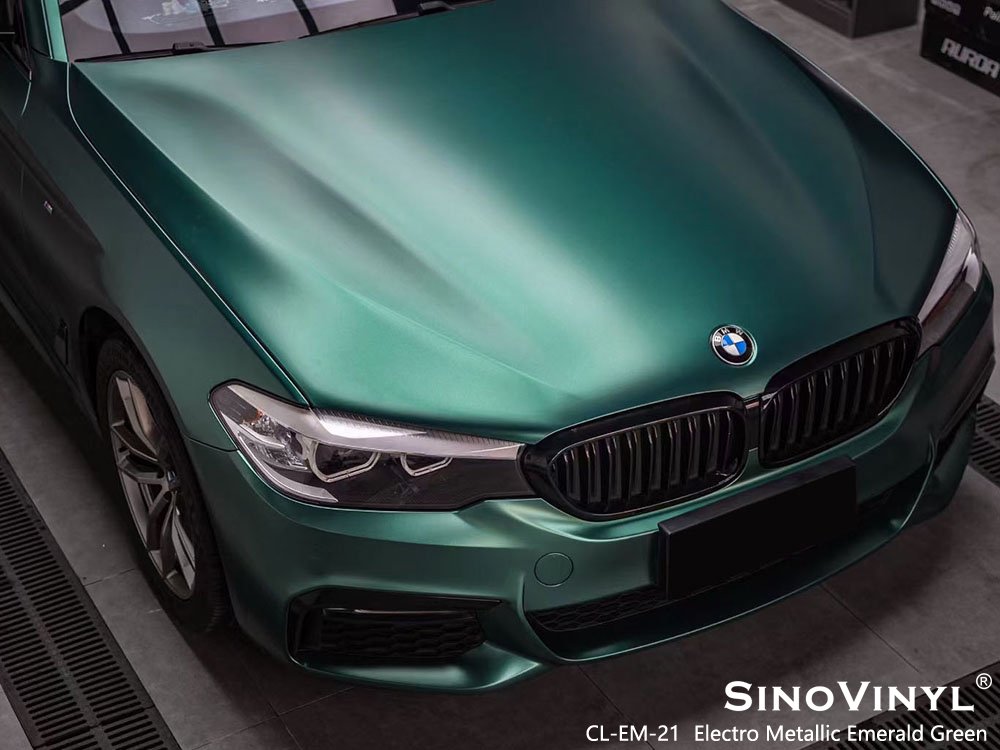
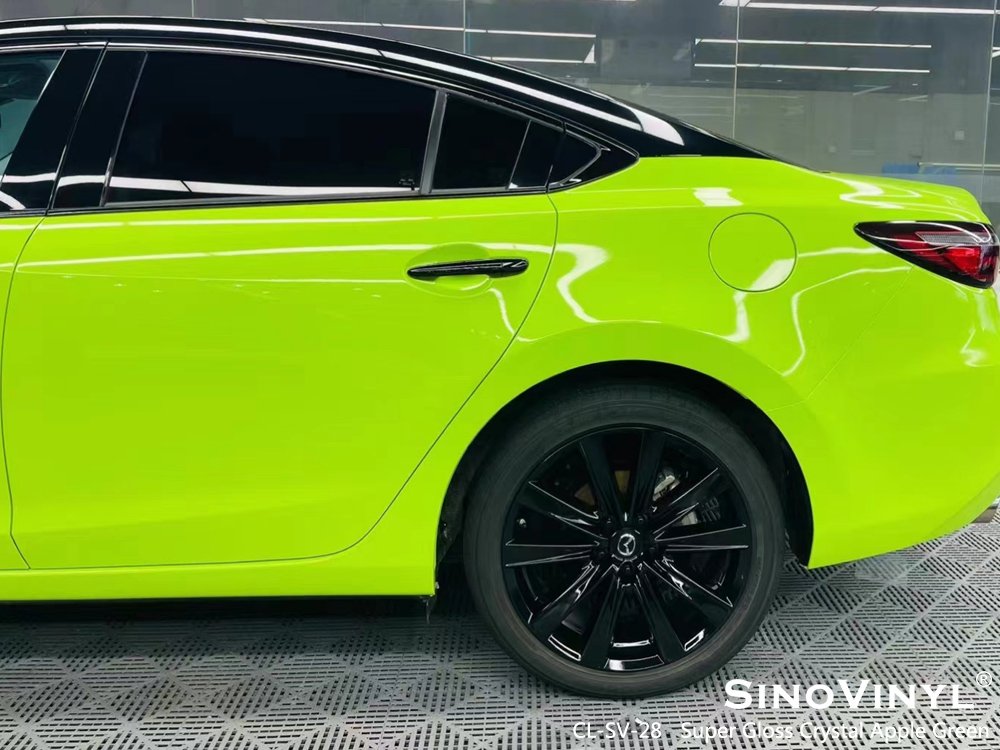
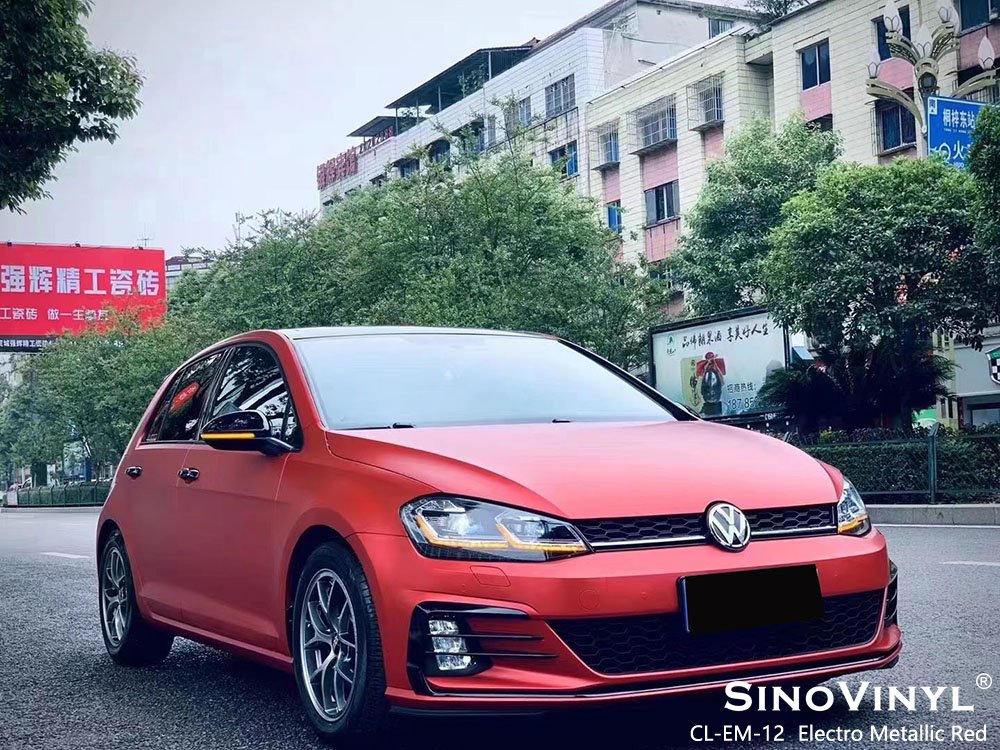
1. Vinyl Wrap (Optional)

If you plan to re-wrap your car after removal, you’ll need new vinyl wrap in your desired color or design.

2. Adhesive Remover Solution

Purchase a specialized adhesive remover designed for automotive use. Make sure it’s safe for your car’s paint.

3. Isopropyl Alcohol

Use isopropyl alcohol to clean the car’s surface after removing the vinyl to ensure it’s free of residue.

4. Soap and Water Mixture

Create a soapy water solution to clean the car before and after vinyl removal.

5. Plastic Bags or Trash Bags

Use plastic bags or trash bags to collect and dispose of the removed vinyl and adhesive backing to prevent a mess.

6. Painter’s Tape

Painter’s tape can be used to mask off areas you want to protect during the removal process.

7. Drop Cloths or Plastic Sheeting

Lay down drop cloths or plastic sheeting to protect the ground and the surrounding area from debris and chemicals.

8. Masking Paper or Plastic Wrap

Use masking paper or plastic wrap to cover areas of the car you want to keep clean during the removal process, such as windows or trim.

Having these tools and materials readily available will make the vinyl wrap removal process smoother and help protect your car’s finish throughout the procedure. Remember to follow safety guidelines and manufacturer instructions for all tools and chemicals used.

Step-by-Step Removal Process

Here’s a detailed step-by-step guide on how to remove vinyl wrap from a car. Properly following these steps will help you successfully remove the vinyl wrap while minimizing the risk of damaging your vehicle’s paint.

Step 1: Gather Your Tools and Materials

Before you begin, make sure you have all the necessary tools and materials on hand. You’ll need:

– Heat gun or hairdryer
– Adhesive remover or rubbing alcohol
– Plastic razor blades or a plastic scraper
– Microfiber towels
– Gloves
– Eye protection
– Respirator mask (for fumes)
– Automotive soap
– Water and a bucket

Step 2: Prepare Your Workspace

Choose a well-ventilated area to work on your car, preferably outdoors. Ensure you have access to an electrical outlet for your heat gun or hairdryer. Clear the area around your car to provide ample space for maneuvering.

Step 3: Heat the Vinyl Wrap

Start by using the heat gun or hairdryer to warm the vinyl wrap. Hold the heat gun about 6-8 inches away from the surface and move it back and forth. The heat softens the adhesive and makes it easier to peel off the vinyl.

Step 4: Begin Peeling

Once the vinyl wrap is sufficiently heated, use your fingers or a plastic razor blade to gently lift a corner of the vinyl. Pull the vinyl wrap away from the car’s surface at a 45-degree angle. Be patient and take your time to avoid tearing the vinyl.

Step 5: Continue Peeling

Continue to heat and peel the vinyl wrap in small sections. If the wrap cools down and becomes difficult to remove, reapply heat as needed. Keep the vinyl at a shallow angle to prevent it from tearing or leaving adhesive residue.

Step 6: Remove Adhesive Residue

After removing the vinyl wrap, you may have adhesive residue left on your car’s surface. Use an adhesive remover or rubbing alcohol to soften and dissolve the adhesive. Apply it to a microfiber towel and gently rub the affected areas until the residue is gone.

Step 7: Clean the Surface

Wash your car’s surface with automotive soap and water to remove any remaining adhesive remover, dirt, or residue. Rinse thoroughly and dry the car completely with a clean, dry microfiber towel.

Step 8: Inspect for Imperfections

After cleaning, inspect your car’s paint for any imperfections, such as scratches or blemishes. Address these issues as needed, such as by using a scratch remover or polishing compound.

Step 9: Wax or Polish

To restore the shine and protect your car’s paint, consider waxing or polishing it. This step is optional but can enhance the overall appearance of your vehicle.

Step 10: Dispose of Waste Responsibly

Dispose of the removed vinyl wrap and any used materials, such as gloves and towels, in accordance with local environmental regulations. Adhesive removers and vinyl wrap can be harmful to the environment if not disposed of properly.

That’s it! You’ve successfully removed the vinyl wrap from your car while preserving its paint. Remember to work patiently and carefully throughout the process to achieve the best results.

Professional Car Vinyl Wrap Film Supplier

  1. Leading manufacturer in China
  2. 10+ years experience produced car wrap films
  3. Over 30+ series and 500+ colors
  4. Free sample swatches supply
  5. Flexible OEM & ODM design
  6. Quality control and stability
  7. Reasonable price and fast delivery
  8. Premium customer service

Our Happy Customer

what our clients have to say

Please Leave Your Information

We would be happy to hear you and learn all about you.

*We respect your confidentiality and all information is protected.

Car Vinyl Wrap FAQ

Here we have a formula to calculate how much vinyl is needed for a car wrap:

*length of your vehicle x 3 (for the two sides & the top of the vehicle from front to back) + extra for bumpers and mistakes (1.5m to 3m depending on complexity of car and your skill level)

For example:
2019 BMW 530i M: (4,954mm x 3) + 3m = 14.86m + 3m = 17.86m
the closest roll size is a so purchase a 1.52m x 18m 5ft x 60ft roll.

♦ Small size cars can be fully wrapped with 15m to 17m of vinyl.
example of vehicle sizes:
Audi A3 & A4, BMW 2 & 3 series, Mitsubishi Lancer, Subaru Impreza, VW Golf & Beetle & Jetta, Hyundai Elantra, Nissan Sentra, Mercedes C-class

♦ Midsize cars can be fully wrapped with 18m to 20m of vinyl.
examples of vehicles:
Audi A5 & A6, BMW 5 series, Mercedes E-class, Hyundai Sonata, Toyota Camry, Honda Accord, VW Passat & CC, Nissan Maxima/Altima, Ford Mustang, Corvette, Chevrolet Camaro

♦ Full-size cars; small SUVs, small trucks & small vans need 20m to 23m of vinyl
examples of vehicle sizes:
Audi A7 & A8, BMW 7 series, Mercedes S class,

♦ Full-size SUVs, trucks & minivans 23m to 30m of vinyl
examples of vehicle sizes:
Mercedes GLS, Suburban, Escalade, Land Rover, Cayenne, Hummer, H2, Voyager, Town & Country, Sienna, Routan

The cost depends on the size of vehicle being wrapped but for an average size car it is very less as compared to re-spray. If you hire a professional wrapper to wrap the car, the cost can be from $2,000 to $8,000 depending on the value of your car. Usually, the car vinyl wrap price is based on the vinyl film quality and the wrapper skill, of course it is also related to the value of your car. The vinyl film can be protect your car paint very well, which makes the expense worthwhile. Price for vinyl wrap on BMW US$3000-5000 Price for vinyl wrap on Mercedes-benz US$3000-5000 Price for vinyl wrap on Volkswagen US$2500-5000 Price for vinyl wrap on Nissan US$2500-5000

Does NOT devalue the resell value of your car like a paint job does.
Vinyl car wraps protect your OEM paint and are 100% removable.
Warranties and/or lease agreements remain valid. Painting can void warranties, increase the cost of insurance, and is not even an option with a lease
Cost for a vinyl vehicle wrap is considerably less than a comparable paint job.
Vinyl car wraps wear as well as, or better than paint – when properly cared for. Think of it like a skin for your laptop or a silicon cover for your phone. The vinyl can take a beating protecting the vehicle’s paint underneath.
Vinyl car wraps come in any color, even custom, and can have a matte, semi-gloss, gloss, brushed steel, carbon fiber, metallic flake, matte metallic, chrome and even leather-like finishes.
Expensive, color-matching paint fees are unnecessary for scratches or accident vehicles; just re-wrap the section that needs repair.
It’s difficult to tell it’s not paint. Due to our paint wrapping technique, it literally looks like it was sprayed on.
Affordably customize parts of your car. You don’t have to wrap your entire car; just your hood, roof, mirrors, stripes, etc.
Matte-paint jobs can be brittle and chip easily while vinyls are more durable and harder to scratch. In the event that repairs are needed, the part that was damaged can be easily replaced, providing a perfect match.
Hides dings or scratches and “freshens” the look of your vehicle.

Applying specialist car wrapping film to your car body will not damage your paintwork. However If you already have stone chips, abrasions or rust patches on your paintwork it’s important to remember that when the vinyl is removed it may pull loose paint off with it.

Vehicle wrapping is most effective when the whole vehicle is covered in a complete design, but you can chose to wrap just part of the vehicle, such as the rear doors or side panels.

No. It is just simple instructions for removing the graphics yourself.

Yes. The vehicle wrapping films are of high quality adhesives and can be easily removed within 5 years of the wrap being installed.

How to wrap a car with vinyl?

Car vinyl wrap training has become a fashion, making cars look cooler and full of mystery. This also attracts many car owners to follow suit to their car vinyl wraps. Car vinyl wraps require a lot of professional knowledge, which is not a small shop. Therefore, try to go to a professional car beauty shop to avoid the misunderstandings in the film, and understand the method of using the car after the film.I will teach you how to close the film immediately after the film is finished. Today I will show you how to take a film and take action.

1. Thoroughly clean the vehicle and carry out deep cleaning for oil stains and mud. The possible places are corners, bottom edges, handles, under the front and rear bumpers, including the dead corner of the upper guard plate of the hub. The air compressor blows away the dirt and sewage remaining in the gaps of the corners to avoid the situation that the film will not be stuck and will cause the edge to be raised later.

2. After the film is finished, all the corners should be baked with a hot air gun at high temperature. While baking, compact the shape by hand until the baking heat no longer starts. For the parts that are easy to be edged or the glue does not stick to the edge that has been edged, it can be appropriately reinforced with adhesion promoter or super energy glue.

3. After the color change is completed, it needs careful care in a short period of time, for example, the cleaning of the vehicle needs to be carried out after a week, and it cannot be directly sprayed at the seam between the film and the car paint with a high-pressure water gun; it cannot be pasted with items such as adhesives To the membrane surface, and can not use a brush, abrasive or sponge with abrasive to clean the membrane surface.

It needs to make sure if the car has been waxed, painted, crystal coated or not before doing the car wrapping job. It would hurt the car paint to some extent when removing the car wrap vinyl if the car has been repainted before. It is best to be the original car paint intact before doing the carwrapping job.When the car body have Scratches, damages, it needs to solve this problems first, because it is not good to car wrapping.

1. Need to wash and clean the car body before the car wrapping job. Using alcohol to wipe and clean it once again when attaching the vinyl for a certain part of car body.

2. It is better to wrap a complete vinyl to one part of car body,reduce splicing.Correct direction of closing vinyl edge is from outside to inside.

Car Vinyl Wrap Tips: How to complete a perfect film for your car?

3. Edge-closing distance: when there is a gap between theparts A and part B(like below pictures shows), when the A-side is closing, the optimal length of the edge of the remaining film is: the length of the edge of the part A to the edge of the part B.

Car Vinyl Wrap Tips: How to complete a perfect film for your car? Car Vinyl Wrap Tips: How to complete a perfect film for your car?

4. At the top part of the car, make sure all the vinyl at the edge are embedded in the black strip(Like the red arrow below).

Car Vinyl Wrap Tips: How to complete a perfect film for your car?

5. When the edge is attached with a curvature and no stress point, the direction of stretching should be stretched to the vertical direction of the gap (as shown in the picture below, the edge needs to be retracted in the direction A, but it should be stretched downwards, that is, the direction B, this stretching method can prevent the car vinyl from being intact when it is just wrapped, but the phenomenon of stretching and rebound occurs at high temperatures).

Car Vinyl Wrap Tips: How to complete a perfect film for your car?

6. Don’t stretch when wrapping the vinyl,but if it must need to stretch, don’t overstretch please. Both excessive stretching and heat gun temperature is too high would cause damage to the membrane surface and glue layer of the vinyl.(The heating temperature of the heat gun is recommended to be 80-120℃; but the recommended temperature for chrome mirror vinyl,chrome laser vinyl and mysterious chrome rainbow vinyl is below 80℃).

7. When sticking to a location with a large arc,first bake and soften the vinyl, avoid rebound phenomenon after excessive stretching and heating.

8. Use the heat gun to heat up the edge when the part is finished wrapping,to see if there has phenomenon of membrane rebound.(Especially the position of stretched edge)

9. After the whole vehicle is wrapped , please use the heat gun to reheat all the edge trimming positions, to make sure the edge of vinyldoes not rebound.

10. Precautions within three days after wrapped vinyl:avoid car washing; Do not use a water gun to spray the film at the seam,especially the edge part , don’t let the car get wet in the rain.

  1. Initial Low Viscosity Glue refers to the initial viscosity of the vinyl and the paint surface,back adhesive is pressure sensitive adhesive; due to the initial viscosity of the vinyl and the paint surface is not very high during the wrapping, it feels not very sticky when you peel off the bottom paper and stick it to the adhesive by hand.If the car body has been repaired by car paint before vinyl wrapping, use a high-viscosity vinyl on the painted surface, and then tear it immediately, you can find it is very laborious, and it is easy to tear the car paint together.The use of a low-viscosity car film will not easily bring up the paint surface even after repeated tearing, which is very convenient for car wrapping job.

2. For cars that have just finished the initial low-viscosity car vinyl wrapping, it is better not to wash the car within 3 days, due to the low initial viscosity glue and the paint surface are not completely adhered, it can prevent the water gun from flushing the corners of vinyls.After three days, the viscosity gradually increases,it should let the car owner to come and check the corners of vinyls at that time.After wrapped the vinyl for a period of time, the glue surface has completely adhered to the paint surface. If the paint is dropping during the tearing process, it has no relationship with the quality of the film,but caused by the thickness of the paint surface;if paint dropping due to tearing during filming during the car wrapping process, then there is a certain relationship with the quality of the car wrap vinyl.

3. The method to Judge vinyl glue: Take the vinyl samples or color swatch books, tear off the bottom paper, stick it to the paint or the hand, and then peel it off.If found that with very high adhesion, that one is high viscosity glue; the one with very low adhesionis Initial Low Viscosity Glue.

4. Avoid sticking items with strong viscosity to the vinyl surface.

5. Avoid using cleaning tools, which is easy to damage the surface of the car color change vinyl. Please don’t use brush abrasives, abrasives or sponges with abrasives to clean the vinyl surface.

6. Please use soft damp cloth and clean water to wipe the surface of the vinyl. It must need to use neutral cleaning agentwhen using it to clean the car wrap vinyl.

7. When the edge of vinyl is slightly uping , please processed in the car wrap store within 24 hours.

Get Started With SINOVINYL Now

Welcome to get car vinyl wrap film offer and to be the distributor of SINOVINYL.

Ask for Sample Now

We Would Be Happy To Assist You

Ask for Quote Now

We Would Be Happy To Assist You

Download Our Full Catalog

We Would Be Happy To Assist You