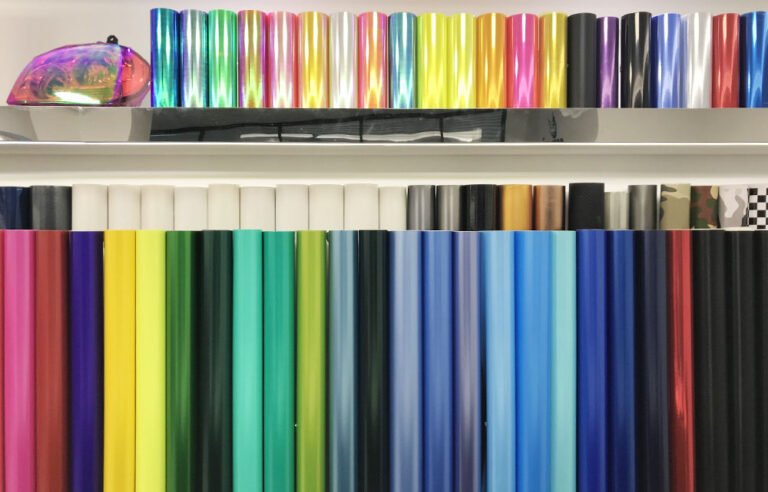
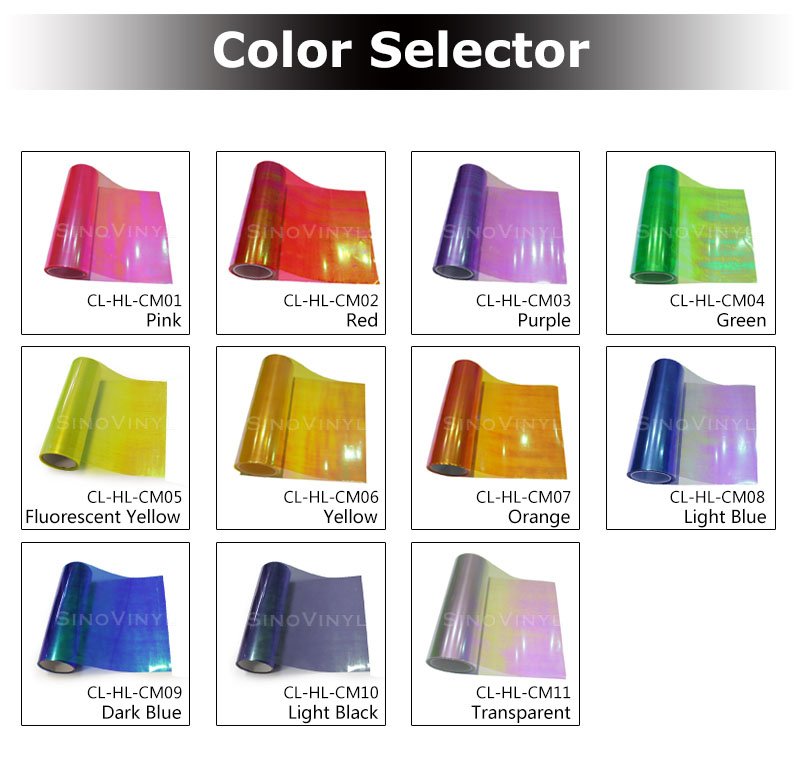
Enhance Your Car’s Appearance with SINOVINYL’s HL-CM Chameleon Headlight Tint Film:
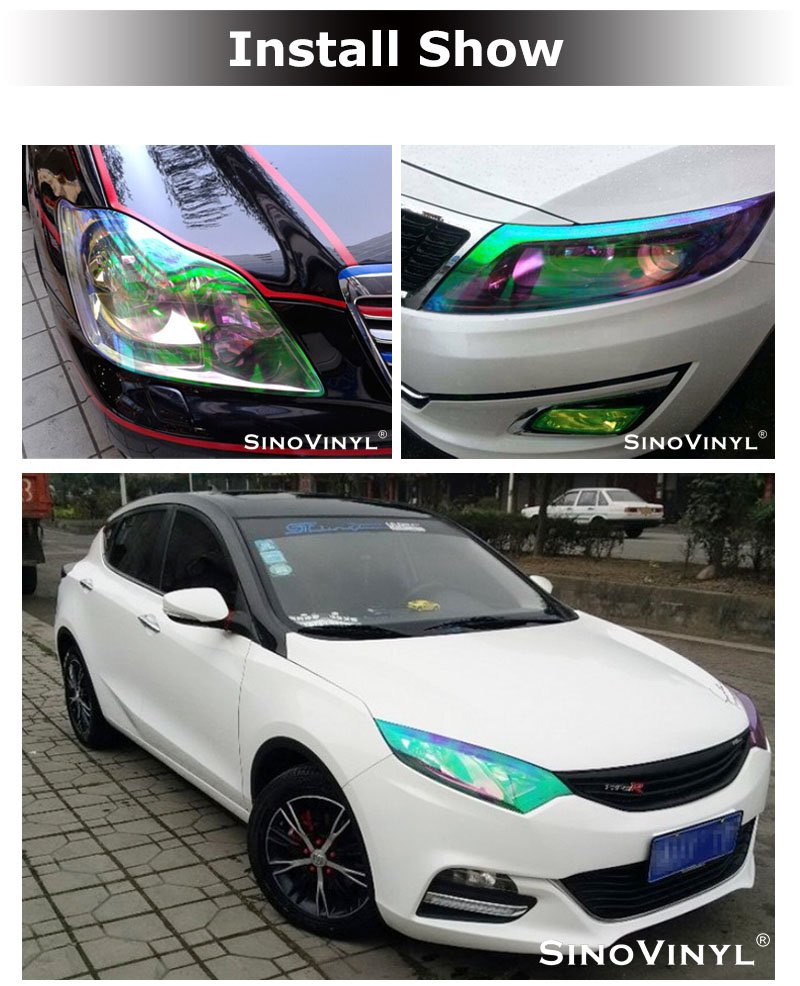
SINOVINYL’s HL-CM Chameleon Headlight Tint Film Color Vinyl is a high-quality product that provides an eye-catching and unique look to your vehicle’s headlights. This product is designed to give your car a custom look, while also providing a layer of protection for your headlights.
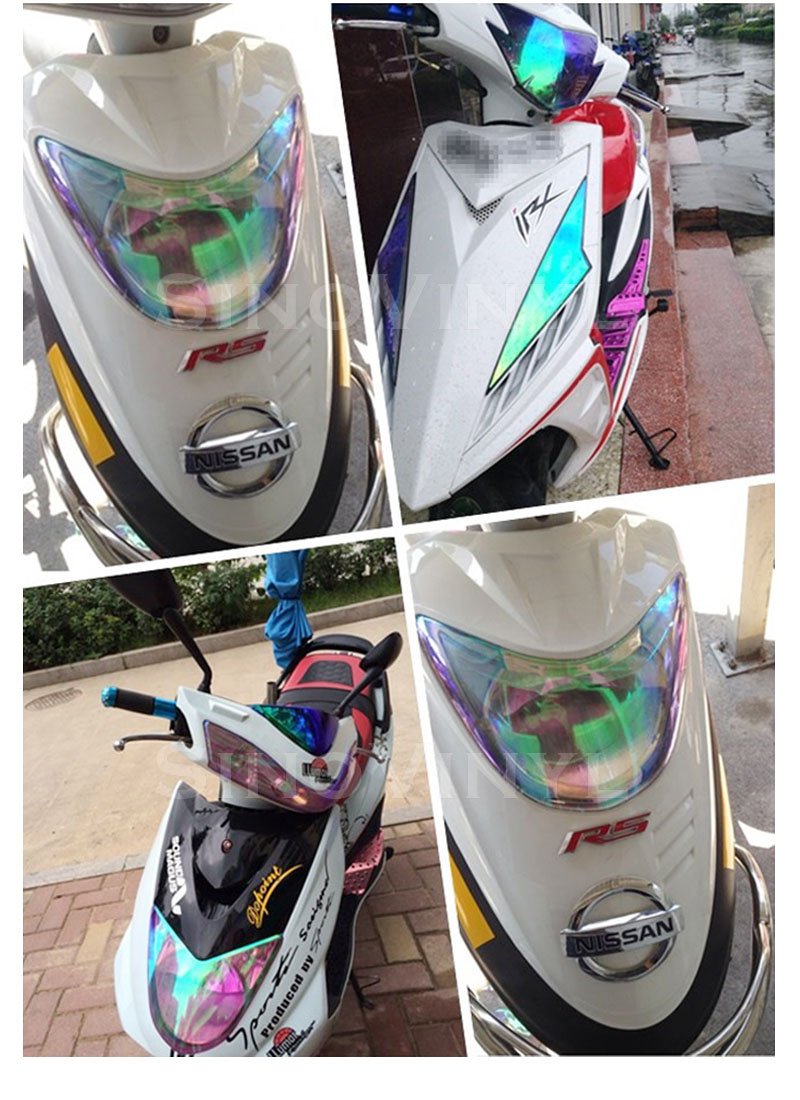
One of the standout features of the HL-CM Chameleon Headlight Tint Film is its chameleon color effect. This unique color-changing effect is achieved through a special polyacrylate adhesive, which creates a vibrant and dynamic appearance that changes color based on the angle of the light. This creates a stunning effect that can enhance the overall appearance of your car.
Another advantage of the HL-CM Chameleon Headlight Tint Film is its transparency. This product is designed to be transparent, allowing the full brightness of your headlights to shine through while still providing a layer of protection against scratches, debris, and other forms of damage.
The HL-CM Chameleon Headlight Tint Film is also designed to be removable, making it easy to install and remove without leaving any residue or damaging the headlights. This allows car owners to change the look of their headlights as often as they like, without having to worry about causing any permanent damage.
In addition, the HL-CM Chameleon Headlight Tint Film is available in a compact size of 0.3x9M, making it easy to work with and customize to fit your vehicle’s specific headlights.
Overall, the HL-CM Chameleon Headlight Tint Film Color Vinyl from SINOVINYL is an excellent choice for car owners who want to give their vehicle a custom look while also providing a layer of protection for their headlights. With its unique chameleon color effect, transparency, removable adhesive, and compact size, this product is designed to meet the needs of car owners who want to personalize the appearance of their vehicle.
How To Install The Headlight Tint Film At Home By Myself?
Installing headlight tint film at home is a relatively simple process that can be done with just a few tools and some basic knowledge. Here are the steps you can follow to install headlight tint film at home:
- Clean the headlights: Before starting the installation process, it’s important to thoroughly clean the headlights to remove any dirt, debris, or residue. Use a mild soap and water to clean the headlights, and then dry them with a soft cloth.
- Cut the film: Use a sharp pair of scissors or a razor blade to cut the tint film to the size of your headlights. Make sure to leave some extra film around the edges to ensure a good fit.
- Apply the film: Peel the protective backing off the tint film and carefully place it over the headlights, starting from the center and working your way outwards. Use a squeegee or similar tool to press out any bubbles or creases, smoothing the film onto the headlights as you go.
- Trim the edges: Once the film is applied, use a sharp blade to carefully trim away any excess film around the edges of the headlights, making sure to leave a small gap between the film and the edge of the headlight.
- Heat the film: Use a heat gun or hair dryer to gently heat the film, which will help it to conform to the shape of the headlight and ensure a good fit. Be careful not to overheat the film, as this can cause it to shrink or distort.
- Finish up: Once the film is applied and trimmed, use a soft cloth to clean any remaining fingerprints or smudges. Repeat the process for the other headlight, and you’re done!
Overall, installing headlight tint film at home is a relatively easy process that can be completed in just a few hours. With the right tools and a little bit of patience, you can give your car a custom look that will turn heads on the road.
